The environment was based on the Bedwas Coal Works in Monmouthshire, where the machine was housed in an outdoor "brickhouse", connected to tar tanks so it could pump the tar up a delivery pipe and into a vehicle. The first stage of building the environment was to obtain some designs, which Teresa had obtained from a former member of staff at the coalworks:


I then began building the environment in 3DS Max, starting with the basic plane floor and cube walls, which I textured using the brick and stone textures and bump maps from my original "factory" environment. The textures had to be tiled differently for each object they were applied to due to the different aspect ratios of the surfaces.

Using cylinders, I could create the masses of pipework which run above the tanks, as well as the supports for the tanks. The tanks themselves are "oil tank" primitives contained within cubes to simulate the cages.
To create the mesh texture for the cages, I made a metal texture in Photoshop and an opacity and bump map to go with it:


The next step was to texture the tanks, add some more pipework and texture it:

I felt the tanks should have a toughened, steel look to them so I created the following texture and bump map:


This was created from the following photo I had taken:

The pipework uses the same texture which was used for the pipes on the model. With the brickhouse complete, I felt it needed some scenery so I created some hills:

The hills were created by creating a single plane then using soft selection to mould it into a hill shape:
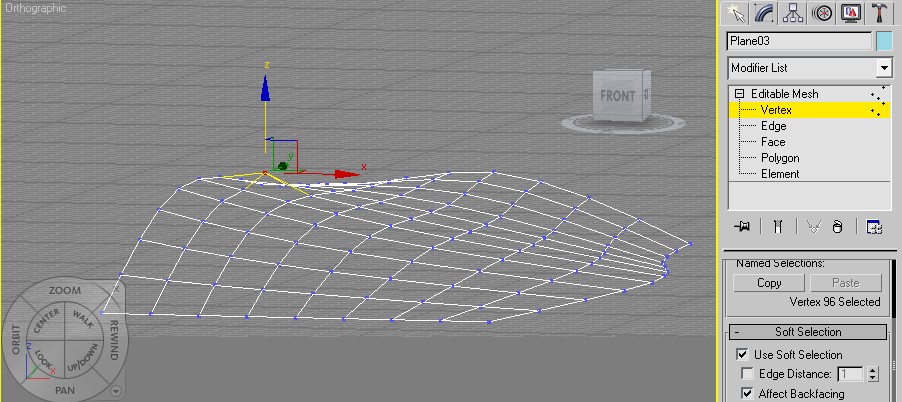
I then cloned this plane to surround the environment and created a flat plane below the stone area to act as ground:

To make the grass texture, I used another photo I had taken and also created a bump map:


With the main landscape complete, I added a sphere mapped with a double sided material to act as a skybox. The texture used for this was found on the internet:

Finally, I added some extra details such as a tunnel, rail track and a small house:

The tunnel is a cylinder which clips into the hillside. The texture and bump map applied to the cylinder is the same as that on the brick walls. In front of the cylinder is a plane with the following original texture and opacity map applied:


The building is a cube with a pyramid on top, to which I applied the UVW Unwrap modifier so that I could use a UVW Map template to ensure textures all sides of the building were upright:


Above is the roof texture. The roof texture and windows on the house were both adapted from this photo I took:

The rail track has the following texture and bump map I have created:
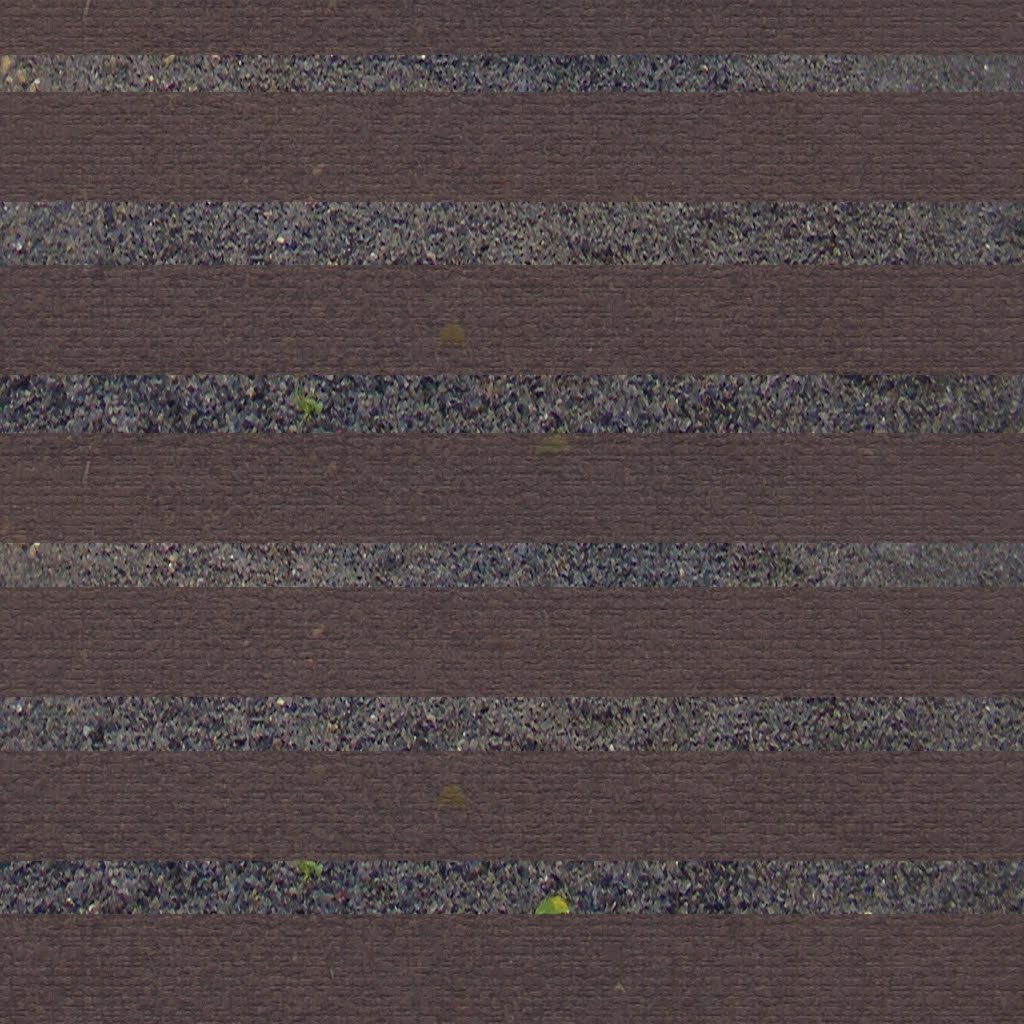

The underlying gravel texture:

Came from this photo I took:

The last stage of the environment was lighting. A single Omni light with ray traced shadows placed high above the scene sufficed. With the environment complete, the final 3D stages were putting the model in the environment and animating the camera movements.

The environment was exported as a 3DS file and imported into the steam engine's Max file to preserve the animation applied to the engine. Once placed in the Max file, the textures had to be reapplied to the environment and the environment itself was scaled to create a realistic image. The final scene was hugely demanding on computing power, with 100 frames taking 2 hours to render in Mental Ray and the final 40 second render took 13 hours.

No comments:
Post a Comment