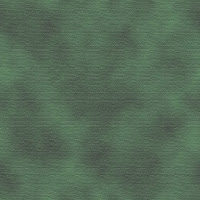
Above - The green texture for the governor housing.
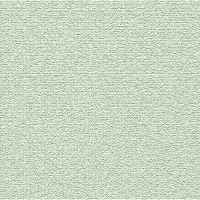
Above - The exhaust housing texture.

Above- The chassis texture.
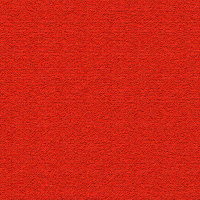
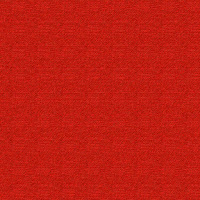
Above- The red wheel and component texture. There are two shades of this to differentiate between red components which sit next to each other.
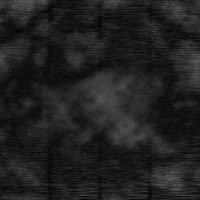
Above- The texture used for pipework in both the model and the environment.
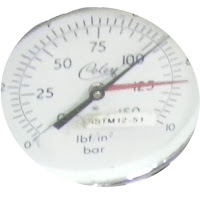
Above is the gauge image, taken from a photo I took at the museum next to its opacity map so the white edges are not visible on the model. It is not a very detailed or precise texture but it serves its purpose in the animation.
Below are images of the model with textures applied:
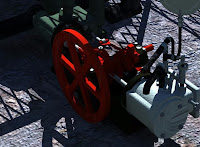
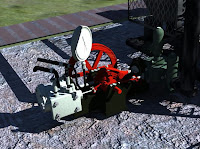
The next step was to place the model in the environment I had created. All aspects of creating the environment will be covered in the next section.
No comments:
Post a Comment