
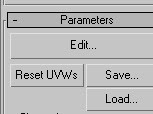
I could then click Edit to adjust the UVW Map.
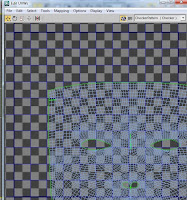
Below is the image I was presented with, which did not make much sense.
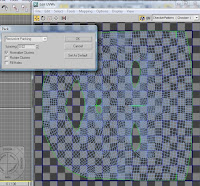
Using help from a tutorial (http://waylon-art.com/uvw_tutorial/uvwtut_01.html), I selected "Pack UVW" to fit the map in a box.
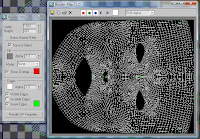
I could then render the UVW Map to an image for editing.
Once I had the UVW Map open in Photoshop, I began editing this photo to fit the mesh. Firstly, I painted over all my facial features such as nose/eyes/lips then pasted them back on in positions which corresponded with the features on the map. Below is the original photo and the initial texture map for my face.
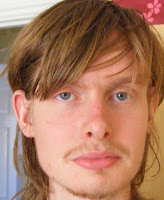
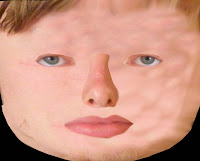
After placing this image on my face (rotating it 90 degrees so it was oriented correctly), a few issues became apparent. I had placed a non symmetrical map on a symmetrical face, which led to an uneven texture around the facial features. Also, the right side of the face lacked detail as it had been painted across from the left.
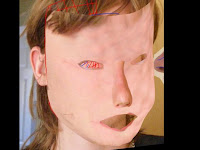
I went back to my map in Photoshop, added some eyebrows using the clone stamp and mirrored the left side of the face below the forehead onto the right as well. This gave a symmetrical face.
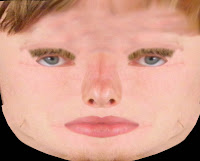
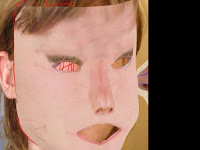
The next step was to apply a bump map to the face to give the detail some depth. To do this, in Photoshop I applied a High Pass filter to create the following image:
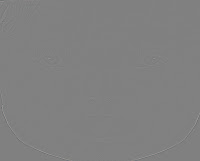
This image was then applied to the "mask" as a bump map. However, the bumps were defined too harshly:
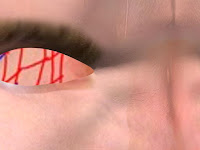
I fixed this by turning my diffuse map into a "Mix" map containing my face texture and a "Fractal" noise map. To make this look "right", the mix amount as well as the tiling and size of the noise was altered.

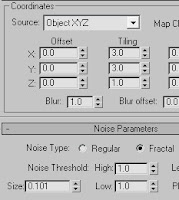
As can be seen below, this softens the bump map...
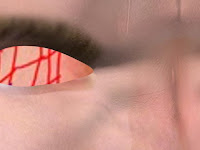
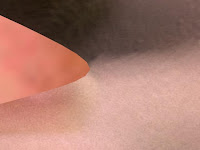
...As well as providing extra detail to avoid pixellation when the camera is zoomed in:
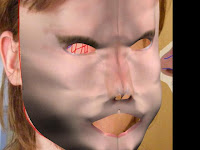
Below is the current progress of my face. Although the lighting isn't brilliant and there is an obvious seam down the middle of the texture as well eyebrows which are too low (which need fixing), I'm pleased with the progress. Now, onto the ears, eyelids and lips...
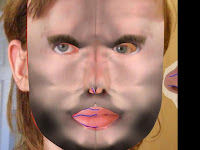
After this, I created some eyeballs out of basic spheres and created a texture map to wrap around them.
No comments:
Post a Comment